
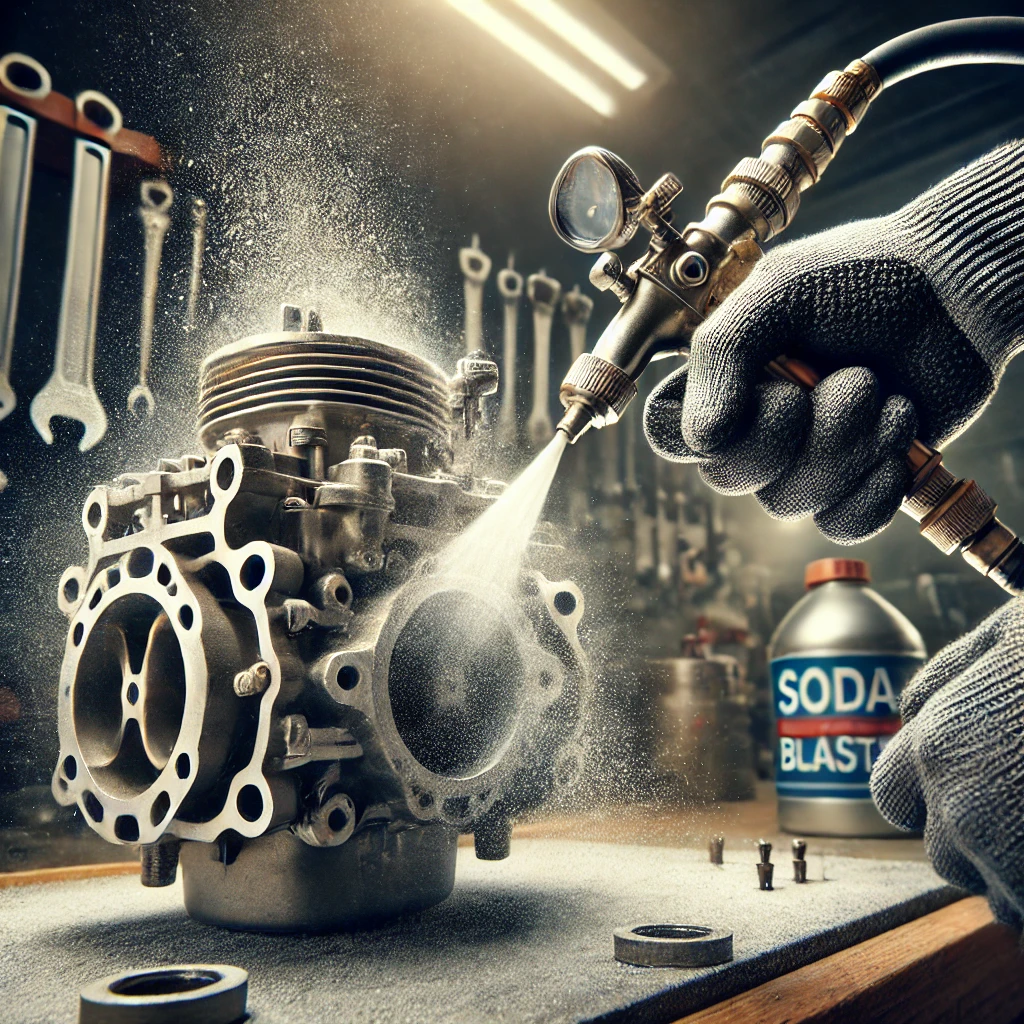
Revitalize Your Carburetor with Soda Blasting
Maintaining your vehicle’s carburetor is critical to ensuring peak performance, fuel efficiency, and engine reliability. Over time, carburetors can become clogged with carbon deposits, varnish, and grime, leading to poor engine performance. If traditional cleaning methods aren’t cutting it, soda blasting could be your answer. This innovative cleaning technique is gentle yet effective, making it a go-to solution for restoring carburetors to their original glory.
What Is Soda Blasting?
Soda blasting is a form of abrasive cleaning that uses sodium bicarbonate (commonly known as baking soda) as the blasting medium. A specialized blasting machine propels soda particles at high velocity to remove dirt, grease, and corrosion. Unlike sandblasting, soda blasting is much gentler and doesn’t damage delicate surfaces, making it ideal for carburetors.
Benefits of Soda Blasting Your Carburetor
1. Thorough Cleaning
Soda blasting excels at reaching tight crevices and intricate details, ensuring a comprehensive cleaning that’s hard to achieve with brushes or chemical solutions.
2. Non-Damaging
Carburetors are made from soft metals like aluminum, which can be easily damaged by harsh cleaning methods. Soda blasting is non-abrasive, leaving the material intact and free of scratches.
3. Eco-Friendly
Sodium bicarbonate is a natural, non-toxic substance that’s water-soluble and safe for the environment. Unlike chemical cleaners, it doesn’t produce harmful fumes or residues.
4. Fast and Efficient
The process is quick, saving time compared to manual scrubbing or soaking. This efficiency makes soda blasting a preferred method for both professional mechanics and DIY enthusiasts.
How to Soda Blast Your Carburetor
Step 1: Gather Your Materials
- Soda blasting machine or attachment
- Sodium bicarbonate (blasting-grade)
- Safety goggles and gloves
- Compressed air source
- Protective mask (to avoid inhaling fine particles)
Step 2: Remove and Disassemble the Carburetor
Carefully remove the carburetor from your vehicle and disassemble it to expose all surfaces. Take note of how it’s assembled to ensure proper reinstallation.
Step 3: Set Up Your Work Area
Choose a well-ventilated space and lay down a tarp or work on a designated blasting cabinet. Ensure your compressed air source and soda blaster are ready to use.
Step 4: Blast Away the Grime
Using controlled movements, direct the soda blaster nozzle at the carburetor parts. Work systematically to cover all surfaces. The soda particles will break down grease, varnish, and carbon buildup without harming the metal.
Step 5: Rinse and Dry
After blasting, rinse the carburetor parts with clean water to remove soda residue. Dry thoroughly with compressed air or a clean cloth to prevent moisture-related issues.
Step 6: Reassemble and Reinstall
Carefully reassemble the carburetor and reinstall it in your vehicle. Double-check connections and adjustments before starting the engine.
Tips for Successful Soda Blasting
- Use the Right Equipment: Ensure your soda blaster is compatible with delicate parts.
- Practice First: Test on a scrap piece of metal to get a feel for the process.
- Keep It Dry: Store soda blasting media in a dry environment to prevent clumping.
- Wear Safety Gear: Protect your eyes, skin, and lungs from soda particles.
When to Consider Professional Help
While soda blasting can be a satisfying DIY project, it requires the right tools and experience. If you’re unsure or lack the equipment, consult a professional. Many automotive repair shops offer soda blasting services tailored to carburetor restoration.

Conclusion
Soda blasting is a game-changer for anyone looking to restore their carburetor effectively and safely. By removing stubborn deposits without damaging the delicate components, this method ensures your engine performs at its best. Whether you tackle the project yourself or enlist professional help, soda blasting can breathe new life into your carburetor and keep your vehicle running smoothly.
